How to create a Facebook Business Page in 7 steps
 |
Step 1: Choose or create a personal Facebook account
Facebook Business Pages aren’t the same as Facebook profiles or users. They’re assets managed by a personal account, known as the Page administrator. A Page can have more than one administrator; more on this later.
You can either use your personal Facebook account or create a new one with your work email address if you want to fully separate your personal and work lives. (Do you remember last year’s holiday party? If not, definitely separate your accounts.)
Log in to Facebook with your account, then create a Facebook Page. You can also click on the menu icon on the left, then click Page under the Create section.

Source: Facebook
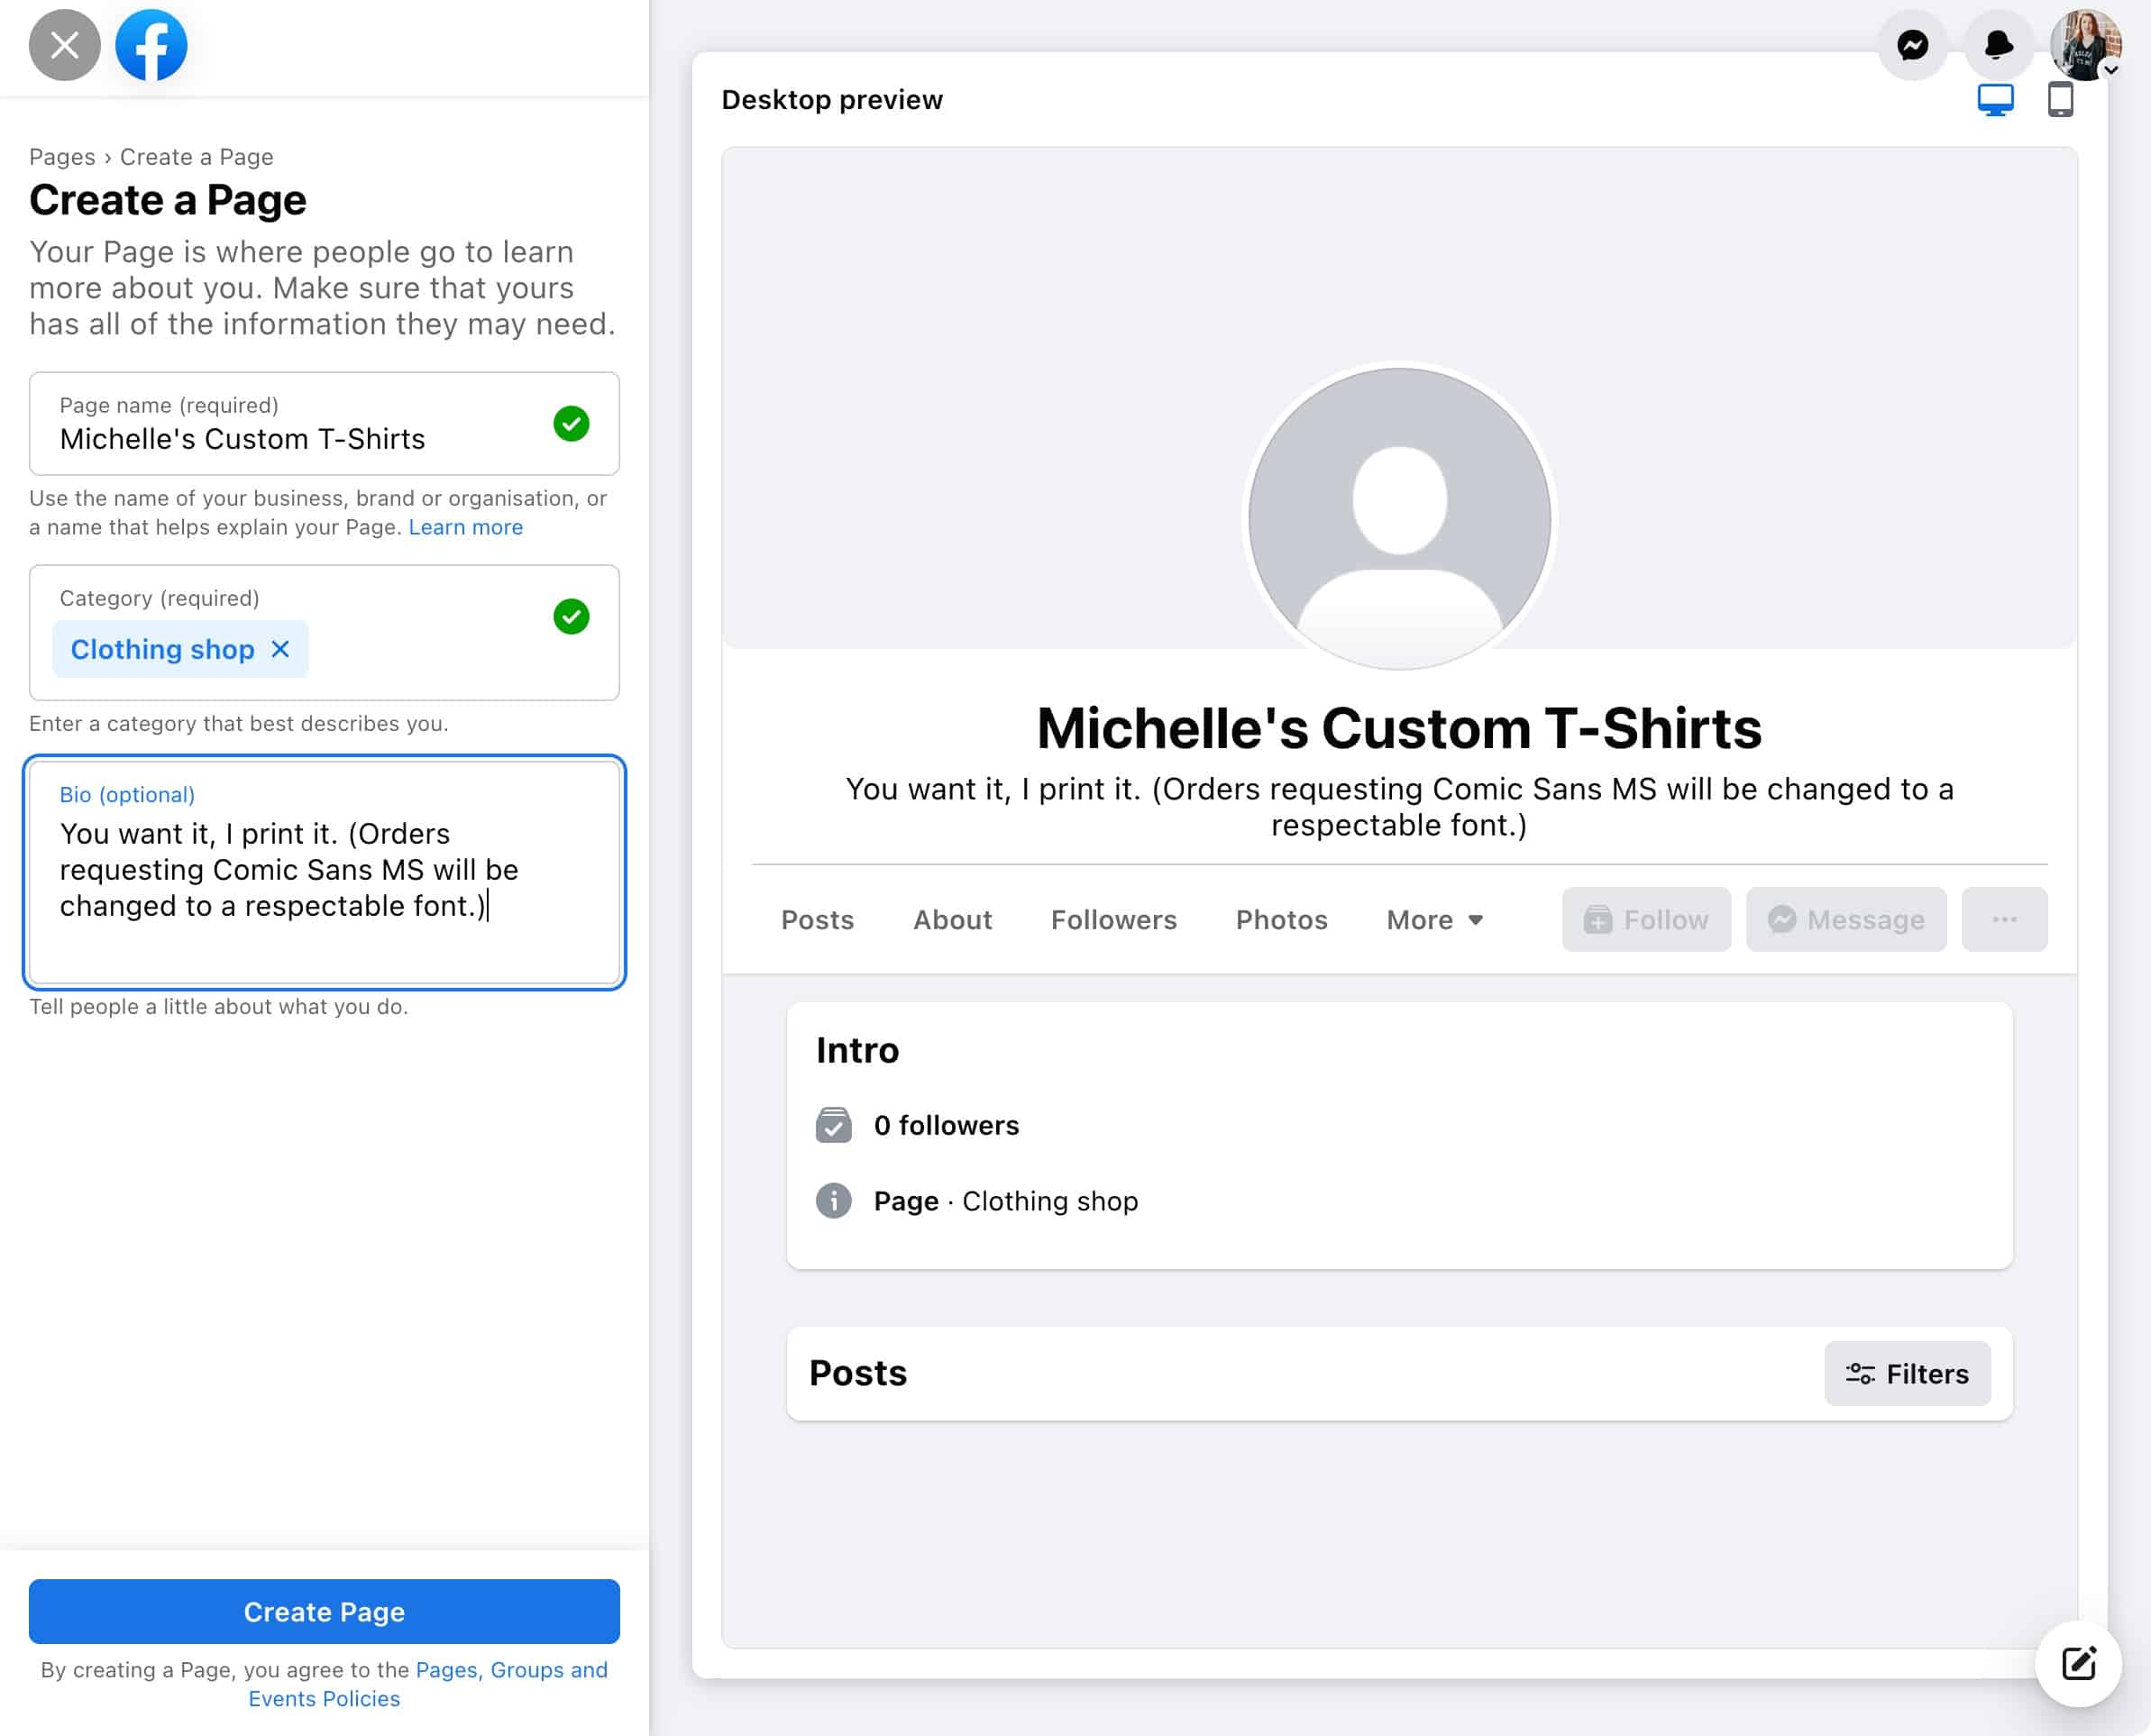
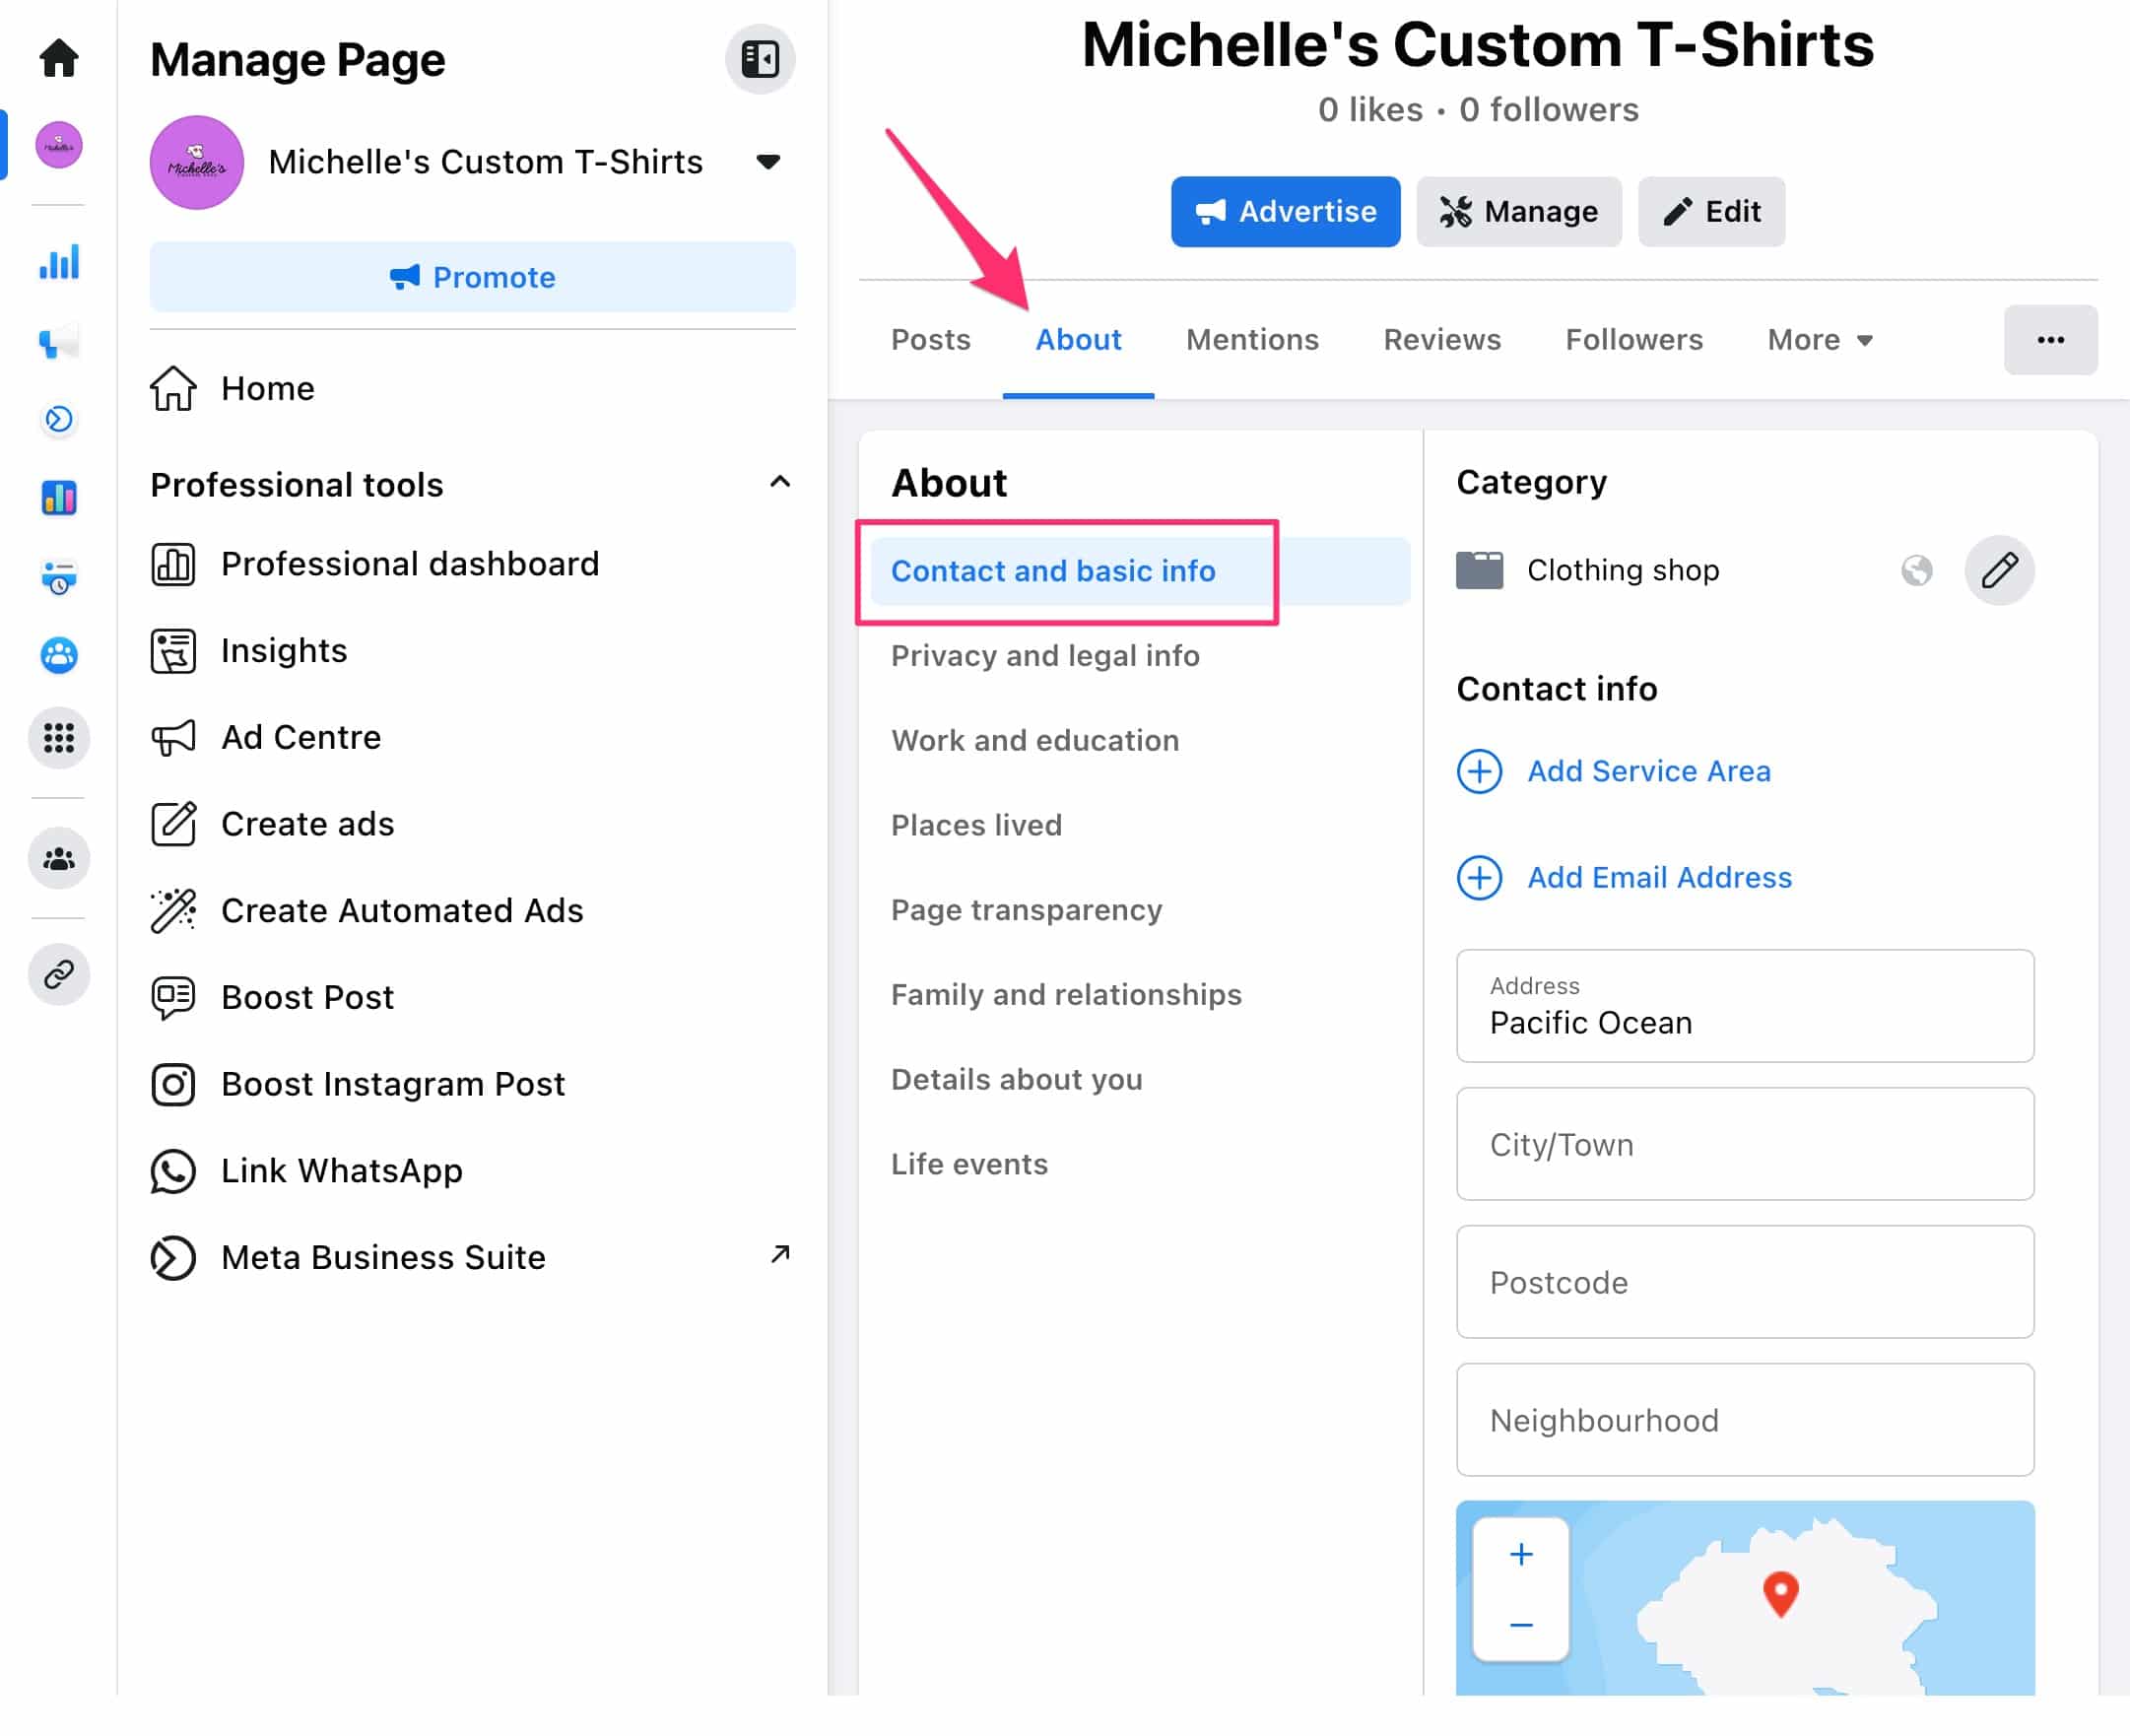
Step 2: Enter your basic information
Fill in your business information. You can add more business details later later, but you only need 3 things to create a Facebook Business Page:
- Name: This is the public name and title of your Page. In most cases, your business name by itself is enough. If there is another popular Facebook Business Page or company with the same name as you, you may want to add a descriptor so people can find you easier, like “Michelle’s Restaurant” instead of just “Michelle’s.”
- Category: Start typing a word to describe your business and Facebook will suggest options. Choose what fits the best.
- Description/Bio: Your elevator pitch. Write a one or two sentence summary of your business.
Then, tap Create Page.
Congrats, you made a Facebook Page! Now comes the fun stuff.
Step 3: Complete your Facebook Business Page info
Follow the prompts to enter more details, like your business hours, website, phone number, and all that good stuff.
All these fields are optional, so if you don’t want to advertise your phone number or address, leave those blank.

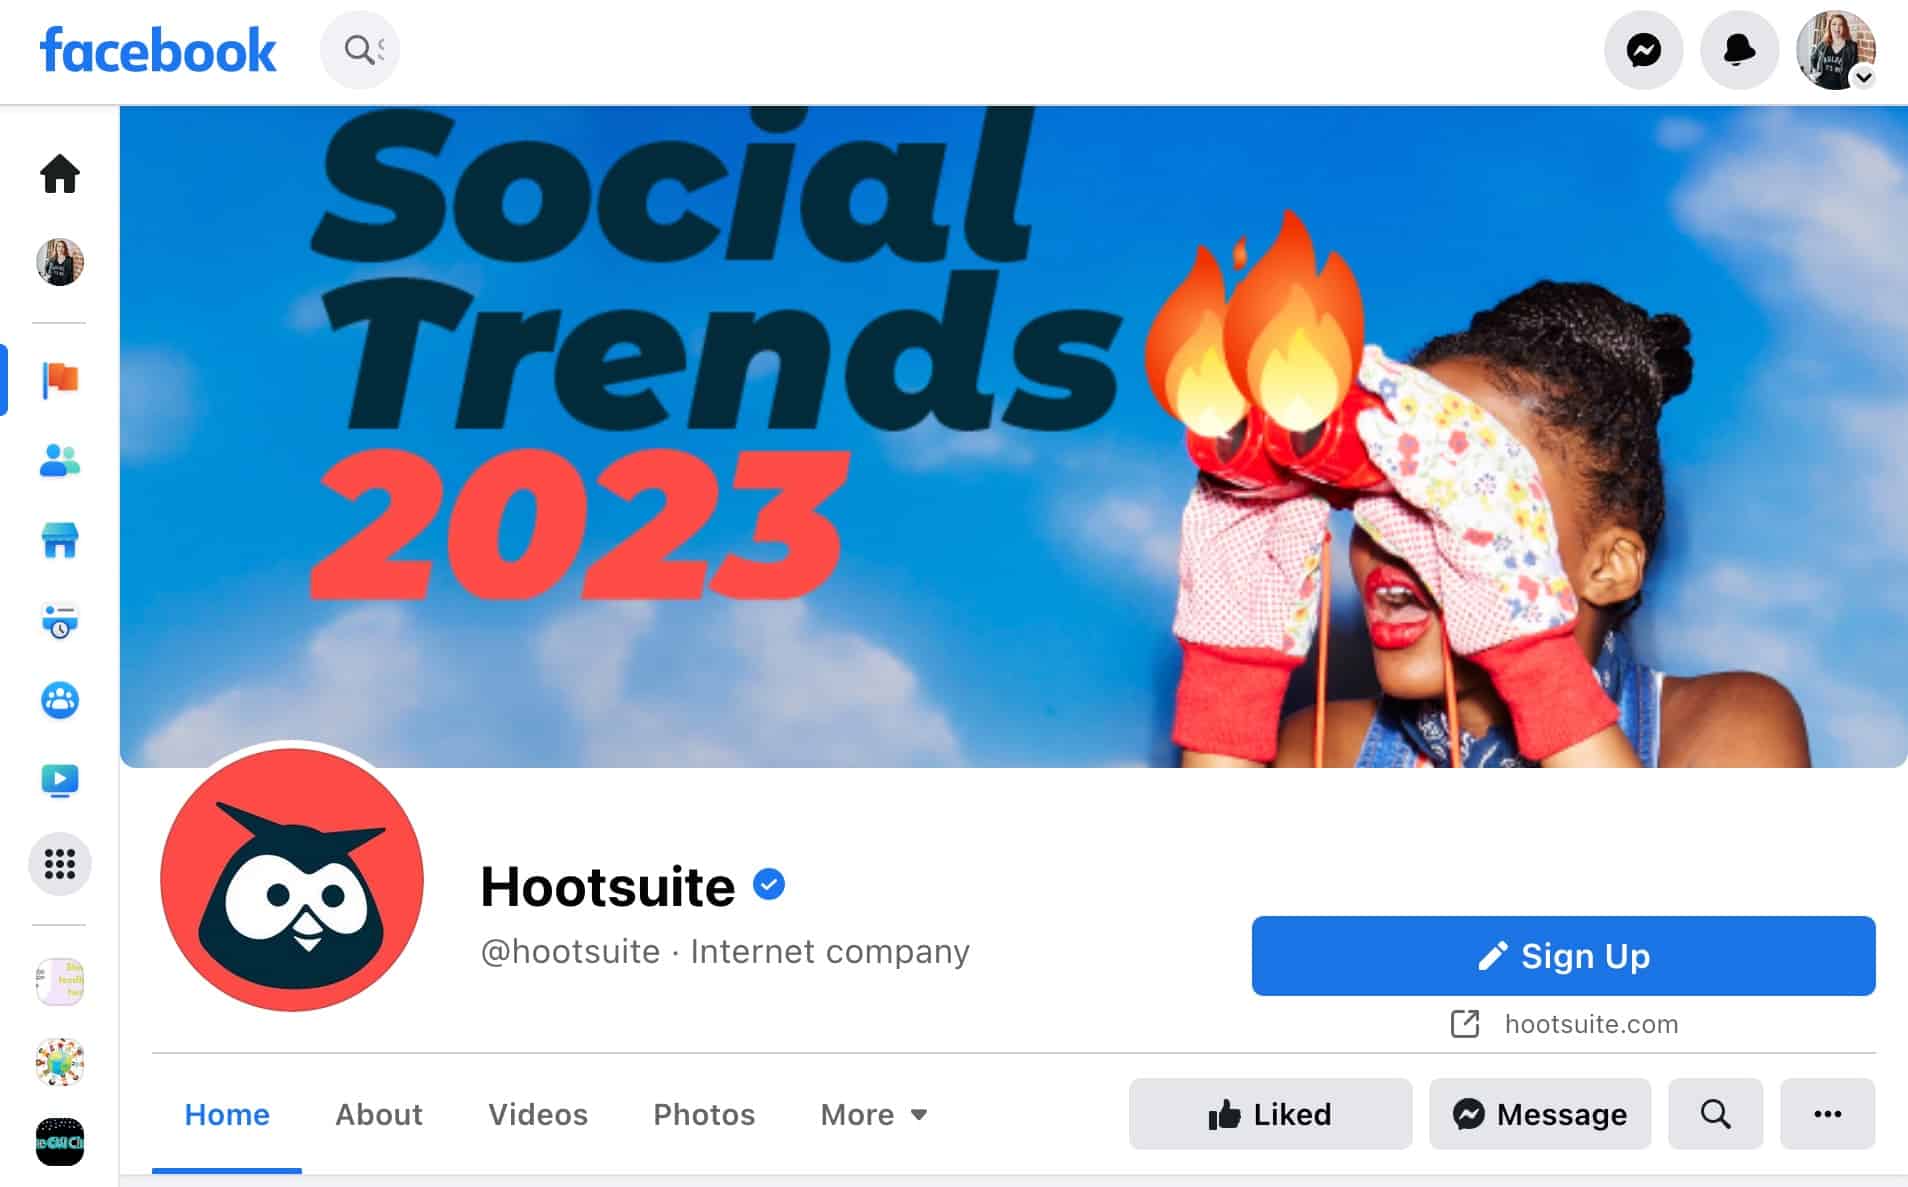
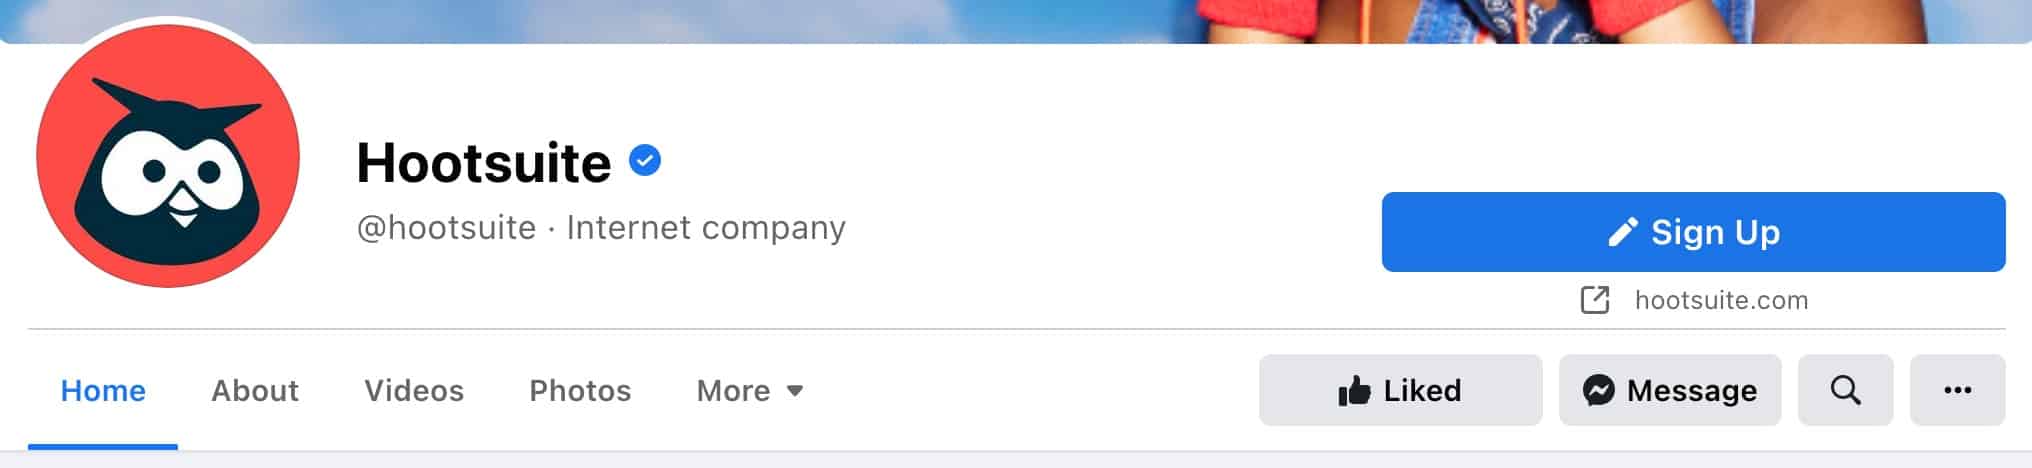
Step 4: Add profile and cover photos
Besides adding style to your Facebook Page, your profile and cover photos should feature recognizable branding so your customers know they’re in the right place.
Your profile pic should include your logo. Get creative: Add a background color to help it stand out.
Your cover photo can be something general about your business, or change it up to match current promotions or events.
Source: Facebook
Social media image sizes occasionally change, but here’s what you need for 2023:
- Profile picture: Square format, at least 170px x 170px
- Cover photo: 851px x 315px
Grab our free Facebook Page cover photo templates to spiff up your new Page.
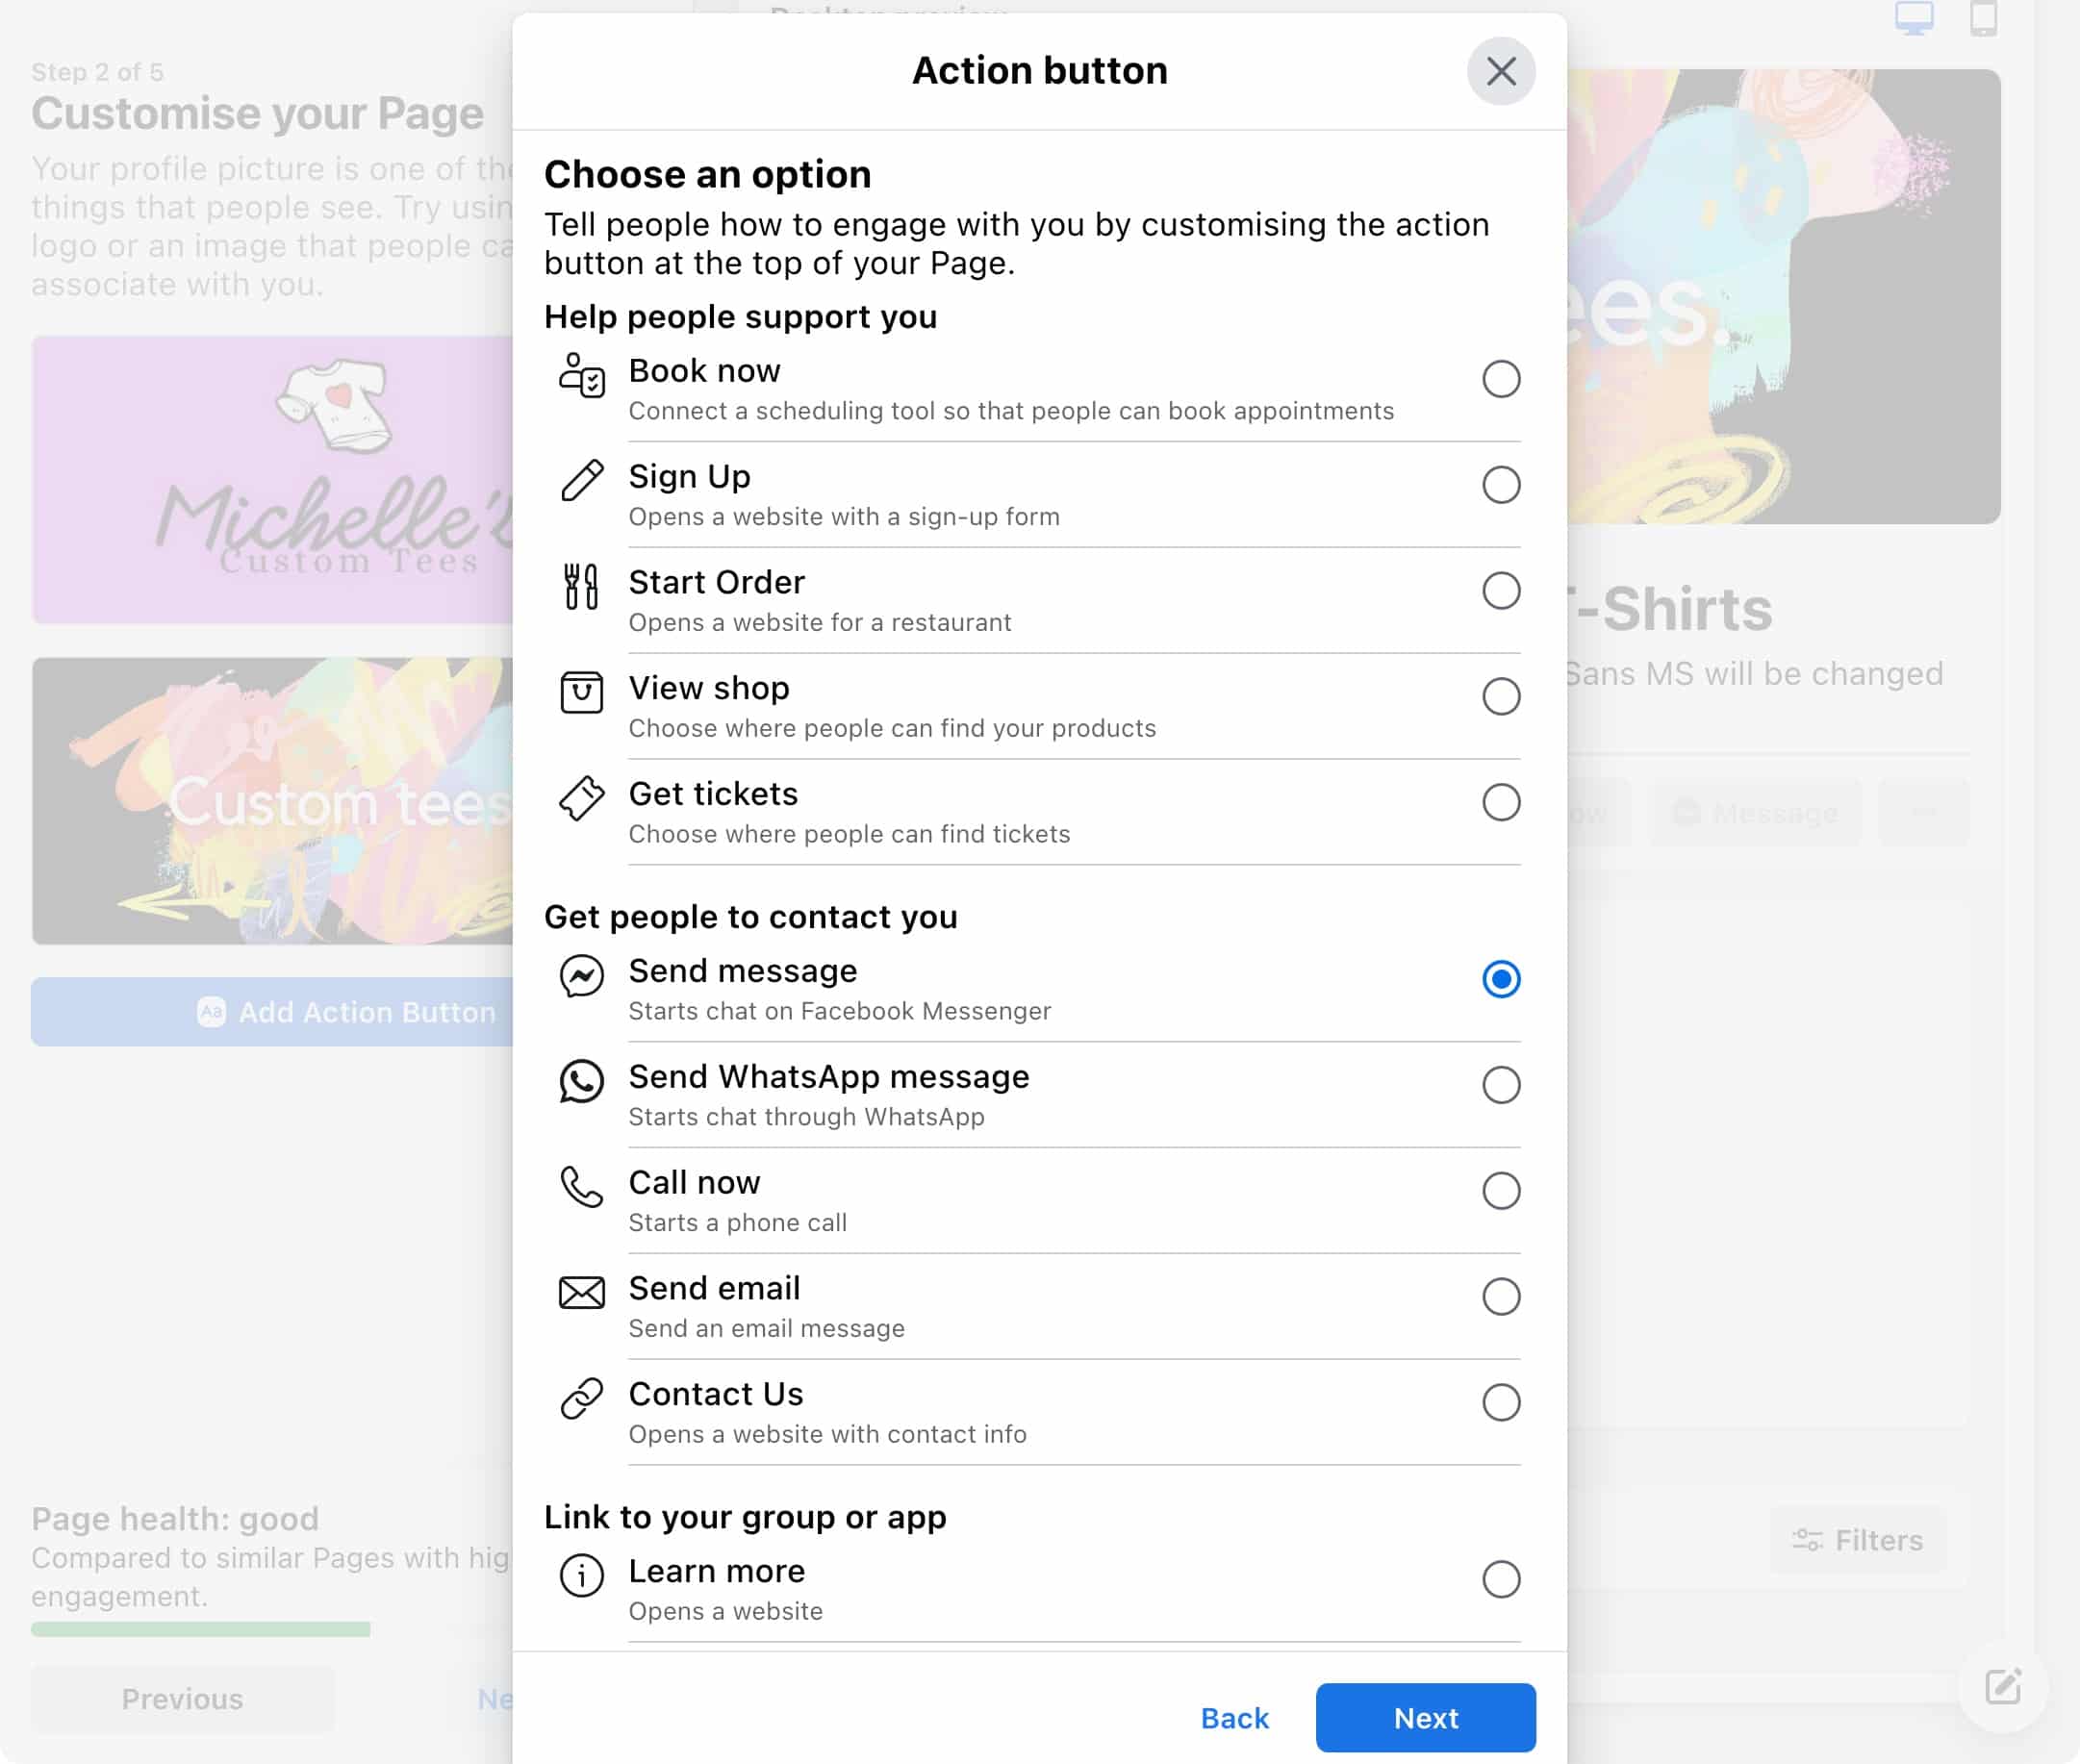
Step 5: Add an action button
The action button at the top of your Page serves as your main call to action. You can link to your website, a special landing page or offer, or connect to business-specific services, such as online ordering for restaurants, and more.
For example, ours is “Sign Up,” which takes you to our Plans page.
Source: Facebook
Tap on Add Action Button.

Then choose what you want to promote: Link to a website or app, get people to contact you, or connect a specific action, like buying tickets or booking an appointment.
Step 6: Optimize your Facebook Page
You could stop here and start posting content on your new Page, but for best results, take the time to do the following:
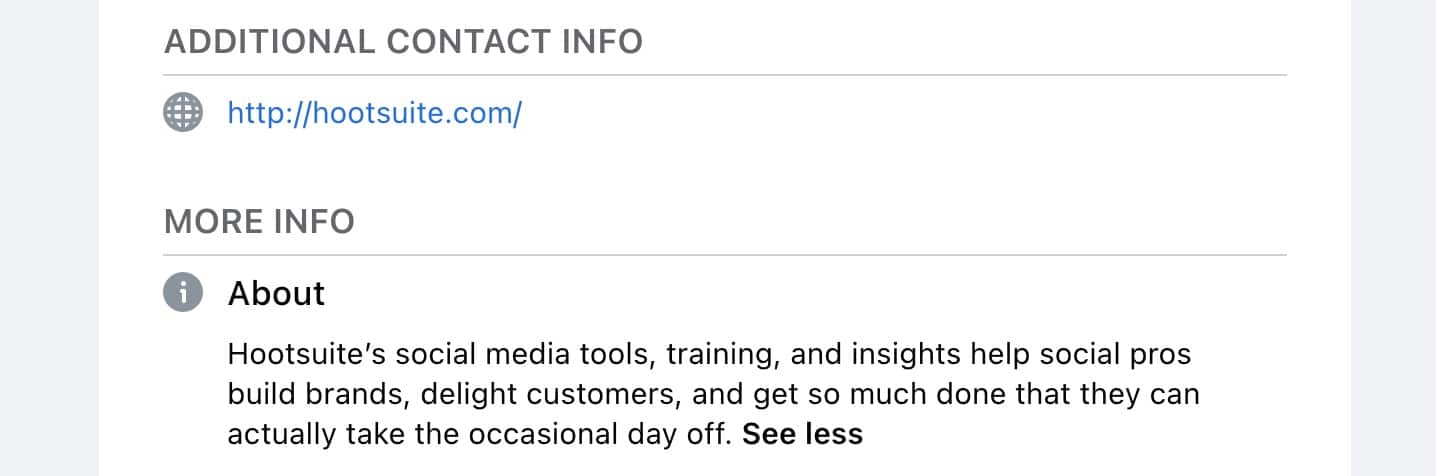
- Add your website: Ensure your website URL is there, and fill in a brief About description.
- Connect WhatsApp: Have customers reach out directly to WhatsApp instead of Facebook Messenger by connecting your Page to WhatsApp Business.
- Add your location and hours: If you have a physical business location, add your address and opening hours in the About section.
- Turn on reviews. Build trust with new visitors by featuring ratings and reviews on your Facebook Page. When using this feature, ensure you’re keeping an eye on reviews to ensure they’re from real customers and not spammers trying to ruin your reputation. And, if any customers are unhappy, ensure you’re reaching out to make it right. Turn reviews on under Settings -> Privacy -> Page and tagging.

Source: Facebook
- Edit your Page tabs: Choose to hide your Likes or Reviews, plus irrelevant sections like Music, Sports, Books, and more. From your Page management dashboard, tap More, then Manage sections.

- Create a custom URL: Besides being easier to link to, a custom Facebook Page URL or username makes your Page seem more legitimate to customers. Set yours under Settings -> General Page Settings then tap Edit next to the Username field.
- Create a pinned post (optional): Add a new post to offer something exclusively for your Facebook Page fans, such as a coupon. Or, use it to link out to your other offers, profiles, and more. It’s a good mini-introduction to your Page and business.

Source: Facebook
Looking for more optimization tips? Try these lesser-known Facebook Page hacks.
Step 7: Create a post
People won’t start discovering your Facebook Page, or have a reason to follow it, until you post some great content.
For further practical experience DM me:


